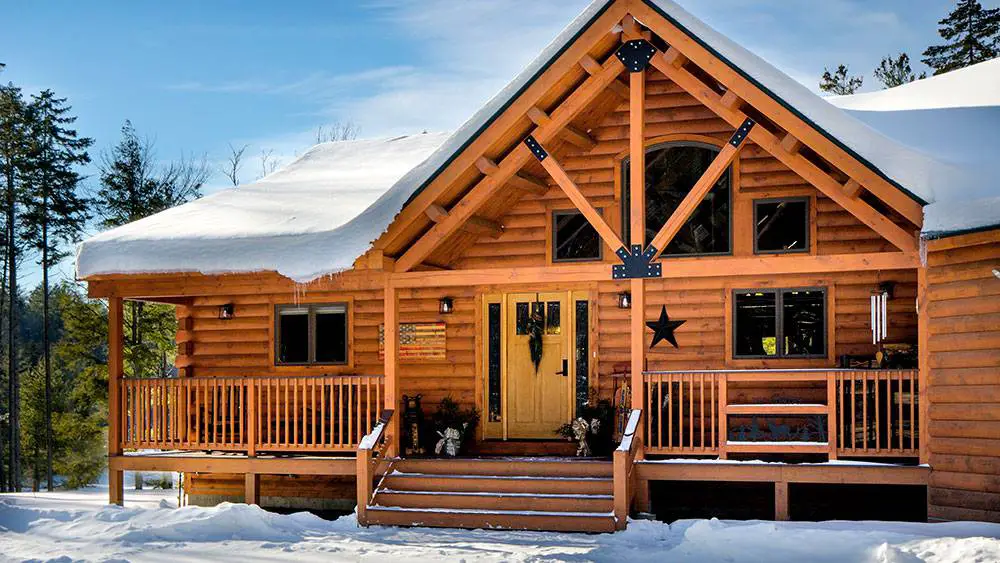
As the crisp autumn air signals the coming of winter, there’s a certain magic in owning a log cabin. The thought of cozying up by a crackling fire while snow falls outside is the dream. But to ensure that dream doesn’t turn into a cold, drafty reality, it’s essential to prepare your cabin for the harsh weather ahead. Winterizing your log cabin isn’t just about comfort; it’s a crucial part of seasonal maintenance that protects your investment and prevents costly repairs down the road.
Taking the time to prepare your cabin for winter ensures it remains a warm, safe, and welcoming retreat throughout the coldest months. From the roof over your head to the pipes running beneath your floors, each part of your cabin needs attention before the first deep freeze. This guide provides a comprehensive checklist to walk you through the process, helping you protect your property and keep it cozy all season long.
Inspect Your Roof and Gutters
Your roof is the first line of defense against snow, ice, and rain, so its condition is paramount. A thorough inspection now can save you from dealing with leaks and water damage when it’s too cold to make repairs.
Start by visually inspecting the roof from the ground with a pair of binoculars. Look for any missing, cracked, or curled shingles. If you have a metal roof, check for loose panels, rust spots, or damaged sealant around vents and flashing. Pay close attention to the flashing around the chimney, skylights, and any vents, as these are common weak points where water can seep in.
While you’re at it, don’t forget the gutters. Clogged gutters can lead to ice dams, which occur when melting snow refreezes at the edge of the roof, preventing proper drainage. The weight of the ice can damage your gutters and roof, and as the dammed water backs up, it can leak into your cabin’s walls and ceiling. Clear out all leaves, pine needles, and other debris. Ensure downspouts are clear and direct water away from the cabin’s foundation.
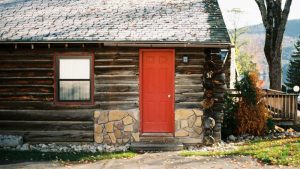
Seal Windows and Doors
Drafts are a cabin owner’s worst enemy in winter. They let cold air in and warm air out, forcing your heating system to work overtime and driving up your energy bills. Sealing gaps around windows and doors is one of the most effective ways to keep your cabin warm.
Begin by checking for drafts. On a windy day, you can often feel them with your hand. Another method is to carefully use a lit incense stick; hold it near the edges of windows and doors and watch if the smoke wavers.
- Weatherstripping: Check the existing weatherstripping around your doors and windows. If it’s cracked, brittle, or compressed, it’s time to replace it. Self-adhesive foam or rubber weatherstripping is easy to install and creates a tight seal.
- Caulking: Inspect the exterior caulk around window and door frames. Over time, caulk can shrink and crack. Scrape away any old, failing caulk and apply a fresh bead of exterior-grade, silicone caulk to seal any gaps.
- Window Insulation Film: For an extra layer of protection, consider applying window insulation film to the inside of your windows. This transparent film creates an insulating air pocket that can significantly reduce heat loss.
Protect Your Pipes from Freezing
Frozen pipes are a major risk in winter. When water freezes, it expands, which can cause pipes to burst. This can lead to severe water damage and expensive, disruptive repairs. Prevention is key.
Start by identifying any water pipes located in unheated areas of your cabin, such as crawl spaces, basements, the attic, or along exterior walls. These are the most vulnerable.
- Insulate Pipes: Use foam pipe sleeves or heat tape to insulate exposed pipes. Pipe sleeves are inexpensive and easy to cut to size and install. For pipes in the most at-risk areas, electric heat tape can provide a constant, low level of warmth to prevent freezing.
- Disconnect Hoses: Disconnect all garden hoses from outdoor faucets. If you don’t, water trapped inside can freeze and damage both the hose and the faucet. If your cabin has shut-off valves for outdoor faucets, turn them off and drain the lines.
- Plan for Absences: If you plan to leave the cabin unattended for an extended period, don’t turn the heat completely off. Keep the thermostat set to at least 55°F (13°C). You can also open cabinet doors under sinks to allow warmer air to circulate around the plumbing. For long-term absences, shutting off the main water supply and draining the system is the safest option.
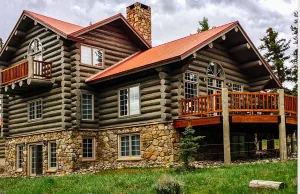
Maintain Your Chimney and Fireplace
A fireplace or wood stove is often the heart of a log cabin in winter, but it needs to be safe and efficient. Before you light your first fire of theseason, a proper inspection and cleaning are essential.
The primary concern is creosote, a flammable tar-like substance that builds up inside the chimney. A significant accumulation of creosote can lead to a dangerous chimney fire. It’s highly recommended to hire a certified chimney sweep to inspect and clean your chimney annually.
- Check the Damper: Make sure the damper opens and closes smoothly. A damper that doesn’t seal properly can let a lot of cold air into your cabin when the fireplace is not in use.
- Inspect the Firebox: Look for cracks in the bricks or mortar of your firebox. These should be repaired to ensure the fire is contained safely.
- Test Smoke and Carbon Monoxide Detectors: This is a critical safety step. Replace the batteries in all detectors and test them to ensure they are working correctly. Place detectors on every level of your cabin and near sleeping areas.
Frequently Asked Questions
What is the ideal humidity level for a log cabin in winter?
Maintaining a humidity level between 30% and 50% is ideal. Winter air is very dry, and heating systems can dry it out further. This can cause logs to shrink and check (crack). Using a humidifier can help protect the wood and make the indoor air more comfortable.
How often should I re-stain or reseal my log cabin?
This depends on your climate and the type of stain used, but a general rule is to inspect the finish annually. A good test is to spray water on the logs; if the water beads up, the sealant is still working. If it soaks in, it’s time to reapply. Typically, a cabin needs re-staining every 3 to 7 years.
Should I cover my cabin’s foundation vents for the winter?
Yes, covering your foundation vents can help prevent cold air from blowing into your crawl space, which helps protect pipes from freezing and can keep your floors warmer. Just remember to uncover them in the spring to allow for proper ventilation and prevent moisture buildup.
Your Winter-Ready Retreat Awaits
By following this checklist, you can rest easy knowing your log cabin is prepared to handle whatever winter throws at it. A little effort in the fall goes a long way toward protecting your property from damage, improving energy efficiency, and ensuring your cabin remains a snug and secure haven. Now, you’re ready to embrace the season, build a fire, and enjoy the cozy comfort of your well-maintained retreat.