A well-sealed and properly insulated log cabin isn’t just about comfort. It’s about protecting your investment, reducing energy bills, and ensuring your home stands strong against the elements for years to come. Log cabins have a rustic charm that’s hard to beat, but without the right sealing and insulation, they can become drafty, damp, and expensive to heat or cool.
If you’re a log cabin owner or thinking about building one, understanding how to seal and insulate effectively is essential. This guide will walk you through everything you need to know—from the basics to step-by-step techniques—so you can create a cozy, energy-efficient retreat.
Understanding the Basics
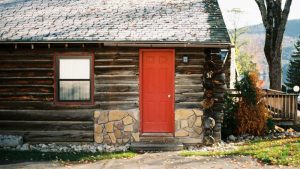
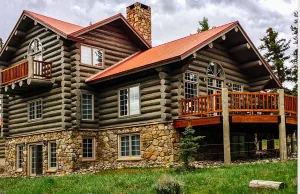
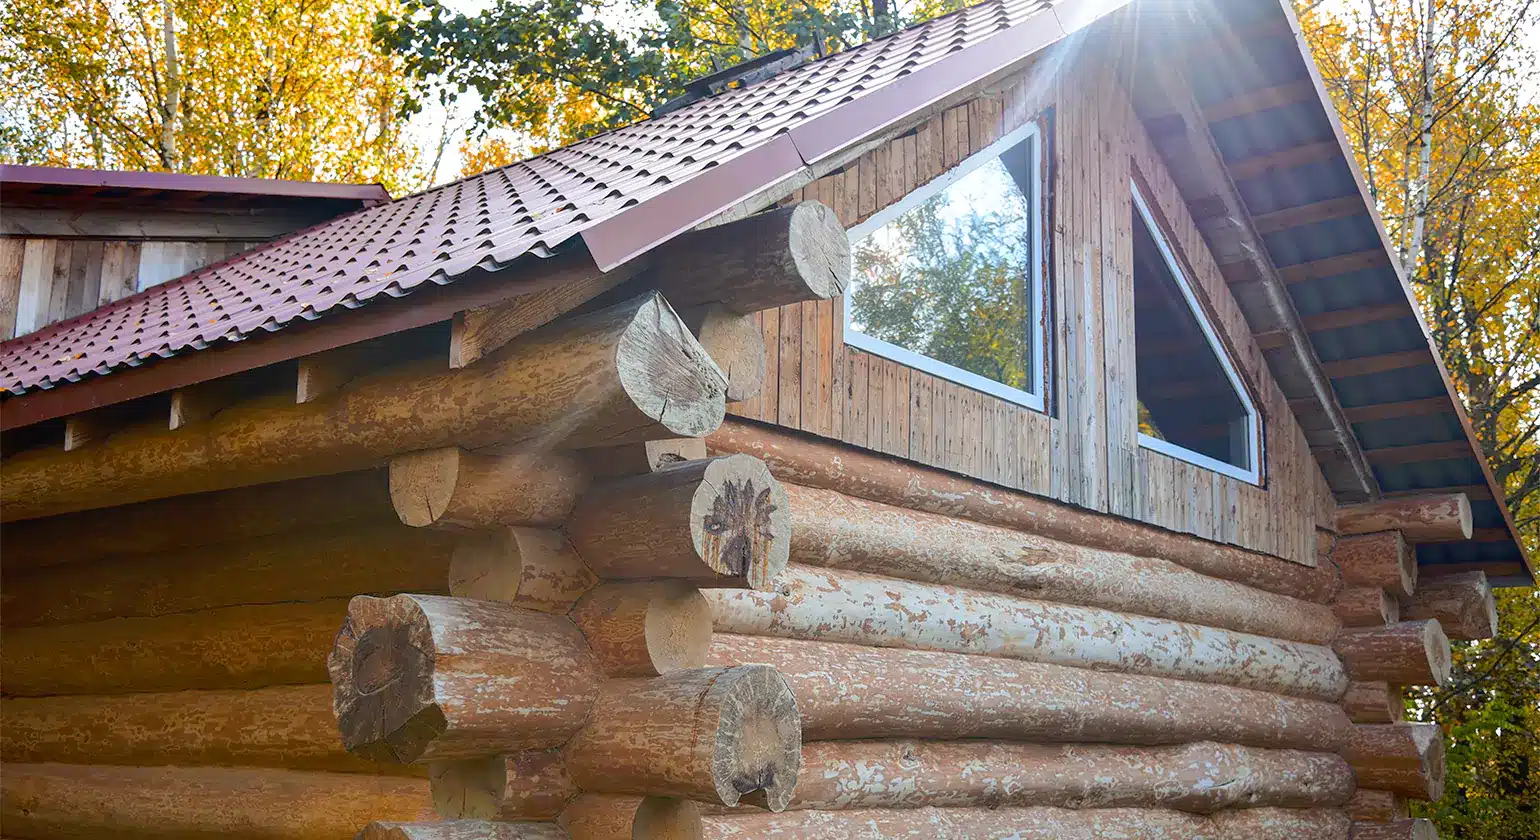
Log cabins are unique structures. Unlike conventional homes built with framing and drywall, log homes are made from solid timber that expands and contracts with temperature and humidity changes. This natural movement can create gaps between logs, allowing air, moisture, and pests to enter.
Sealing and insulating a log cabin addresses these challenges head-on. Proper sealing prevents drafts and water infiltration, while insulation keeps indoor temperatures stable and reduces the load on your heating and cooling systems. Together, they enhance comfort, lower energy costs, and preserve the structural integrity of your cabin.
But here’s the catch: log cabins require different approaches than typical homes. You can’t just slap on some caulk and call it a day. The materials and methods you choose must account for the wood’s natural movement and breathability.
Essential Sealing Techniques
Sealing your log cabin starts with two main tasks: chinking and caulking.
Chinking refers to filling the larger gaps between logs, typically those wider than half an inch. Historically, people used mud, moss, or clay. Today, modern chinking products are flexible, durable, and designed to move with the logs. Acrylic latex chinking is a popular choice because it adheres well, remains flexible, and can be painted to match your logs.
Caulking is used for smaller gaps and cracks. It’s also applied around windows, doors, and any other areas where air might sneak in. Like chinking, caulking for log homes must be flexible. Polyurethane and acrylic latex sealants are both excellent options. Polyurethane is more elastic and works well in areas with significant movement, while acrylic latex is easier to clean up and paintable.
When applying sealant, always follow the manufacturer’s instructions. Clean the surface thoroughly, remove old sealant if necessary, and apply the product evenly using a caulking gun or trowel. Smooth it out with a tool or wet finger to ensure a clean finish.
Effective Insulation Methods
Insulating a log cabin isn’t always straightforward. Solid log walls already provide some insulation value—typically around R-1 per inch of wood. But that’s often not enough, especially in colder climates.
Here are the most effective insulation options:
Fiberglass batts are affordable and easy to install in areas like attics, crawl spaces, and between roof rafters. They come in standard widths and R-values, making them a go-to choice for DIYers.
Spray foam insulation offers superior air sealing and R-value per inch. It’s ideal for irregular spaces and hard-to-reach areas. Closed-cell spray foam also acts as a moisture barrier, which can be beneficial in humid environments.
Rigid foam boards work well for insulating floors and flat roof sections. They provide good thermal resistance and can be cut to fit snugly.
Blown-in cellulose or fiberglass is another option for attics and walls. It fills gaps more thoroughly than batts and is often made from recycled materials.
When insulating, focus on three key areas: the roof, the floor, and any interior walls or ceilings that aren’t made of solid logs. These are where most heat loss occurs.
One critical tip: always include a vapor barrier or use insulation with a built-in barrier. This prevents moisture from condensing inside your walls, which can lead to mold, rot, and structural damage.
Step-by-Step Guide to Sealing
Ready to seal your cabin? Follow these steps for the best results.
Step 1: Preparation
Start by inspecting your logs. Look for cracks, gaps, old sealant that’s failing, and any signs of rot or insect damage. Clean the surfaces with a stiff brush or power washer to remove dirt, dust, and loose material. Let everything dry completely before moving forward.
Step 2: Application
Load your sealant into a caulking gun or mix your chinking according to the product instructions. Apply it generously into gaps, pressing firmly to ensure good contact with the wood. For chinking, use a trowel or putty knife to smooth it out and create a clean, even finish.
Work in sections and take your time. Rushing the job often leads to missed spots and uneven coverage.
Step 3: Finishing
Once applied, tool the sealant to smooth it and remove excess material. Some products can be painted or stained after curing, so check the label if you want a uniform look. Allow the sealant to cure fully before exposing it to weather—this usually takes 24 to 48 hours.
Step-by-Step Guide to Insulating
Insulating your log cabin involves careful planning and execution. Here’s how to do it right.
Step 1: Assess Your Needs
Determine which areas need insulation. In most cabins, the roof and floor are priorities. If you have interior walls or ceilings that aren’t part of the log structure, they’ll need insulation too. Measure the spaces and calculate how much material you’ll need.
Step 2: Install the Insulation
For fiberglass batts, cut them to fit snugly between joists or rafters. Avoid compressing the material, as this reduces its effectiveness. Staple or friction-fit them in place.
If using spray foam, hire a professional unless you’re experienced with the equipment. Spray foam expands quickly and must be applied evenly to avoid waste and gaps.
For rigid foam boards, cut them to size and secure them with adhesive or fasteners. Seal the seams with tape or spray foam to prevent air leakage.
Step 3: Verify Your Work
After installation, inspect for gaps, compressed insulation, or areas where thermal bridges might occur. Use a thermal imaging camera if possible—it’s a great tool for spotting weak points.
DIY vs. Professional Services
Sealing and insulating a log cabin can be a DIY project if you’re handy and have the time. Many homeowners successfully tackle these tasks with the right materials and a bit of patience.
However, some situations call for a professional. If your cabin has significant structural damage, extensive gaps, or requires spray foam insulation, hiring an expert is a smart move. Professionals have the tools, experience, and knowledge to handle complex jobs safely and efficiently.
Consider your budget, skill level, and the scope of the project before deciding. Sometimes a hybrid approach works best—doing the prep work yourself and bringing in a pro for the technical parts.
Maintenance and Inspection Tips
Sealing and insulation aren’t one-and-done tasks. Regular maintenance is key to keeping your cabin comfortable and efficient.
Inspect your sealant annually, especially after harsh weather. Look for cracks, peeling, or areas where the sealant has pulled away from the logs. Reapply as needed to maintain a tight seal.
Check your insulation every few years. Look for signs of moisture damage, compression, or pest activity. Address any issues promptly to avoid bigger problems down the road.
Keep gutters clean and ensure proper drainage around your cabin. Water is the enemy of both sealant and insulation, so managing moisture is critical.
Sealing vs. Insulating: Key Differences
|
Aspect |
Sealing |
Insulating |
|---|---|---|
|
Purpose |
Prevents air and water infiltration |
Reduces heat transfer and stabilizes temperature |
|
Materials |
Chinking, caulking, sealants |
Fiberglass, spray foam, rigid boards |
|
Application |
Applied to gaps, cracks, and joints |
Installed in roofs, floors, and walls |
|
Maintenance |
Annual inspections and touch-ups |
Check every few years for damage |
FAQ Section
How often should I reseal my log cabin?
Most experts recommend inspecting your cabin annually and resealing every 3 to 5 years, depending on climate and sealant quality. High-UV areas or extreme weather may require more frequent maintenance.
Can I insulate my log walls?
Solid log walls don’t typically need additional insulation, as the wood itself provides some thermal resistance. However, you can insulate interior partition walls, roofs, and floors for better overall efficiency.
What’s the best sealant for log homes?
Acrylic latex and polyurethane sealants are both excellent choices. Acrylic is easier to work with and paintable, while polyurethane offers superior flexibility and durability in areas with heavy movement.
Should I use a vapor barrier?
Yes, especially in areas with high humidity. A vapor barrier prevents moisture from condensating inside walls and insulation, which can lead to mold and wood rot. Always install it on the warm side of the insulation.
Is spray foam safe for log cabins?
Yes, when applied correctly. Closed-cell spray foam provides excellent insulation and air sealing. Just make sure it’s applied by a professional to avoid over-expansion or uneven coverage.
Keep Your Cabin Cozy Year-Round
Sealing and insulating your log cabin is one of the best investments you can make. It keeps your home warm in winter, cool in summer, and protected from the elements all year long. With the right materials, techniques, and a little maintenance, your cabin will remain a comfortable, energy-efficient haven for decades.
Take your time, do the job right, and enjoy the peace of mind that comes with a well-sealed, properly insulated log home.